
Halloween Family Fun Night: Legos & Witches Fingers!
Oct 29, 2024Our Family Fun Night: Halloween Edition was inspired by this Hocus Pocus Lego Set. We love Hocus Pocus and I've always had a vision of building a big Lego set together as a family activity - one that is a cute holiday display too! Why let the kids have all of the Lego fun when we can do it together?!
We started our fun night by making the Witches Fingers pretzels - recipe below! It was fun, easy, and delicious! And I love the way they looked too!
Then we sat down to watch Hocus Pocus on Disney+ and I figured out how to split up the big set so that everyone has a turn building. It turns out that this set has 15 bags! and we have 5 people in our family, so it's perfect to split up with 3 bags per person.
I wasn't sure how we'd share the instructions, and quickly found that you can download a copy of the instruction booklet online at the Lego website. So we each have access to it on our phones, and everyone can build simultaneously! So far, we're about half-way done after watching both Hocus Pocus and Hocus Pocus 2! So I'm excited about how much time we're getting to spend building and watching Halloween movies!
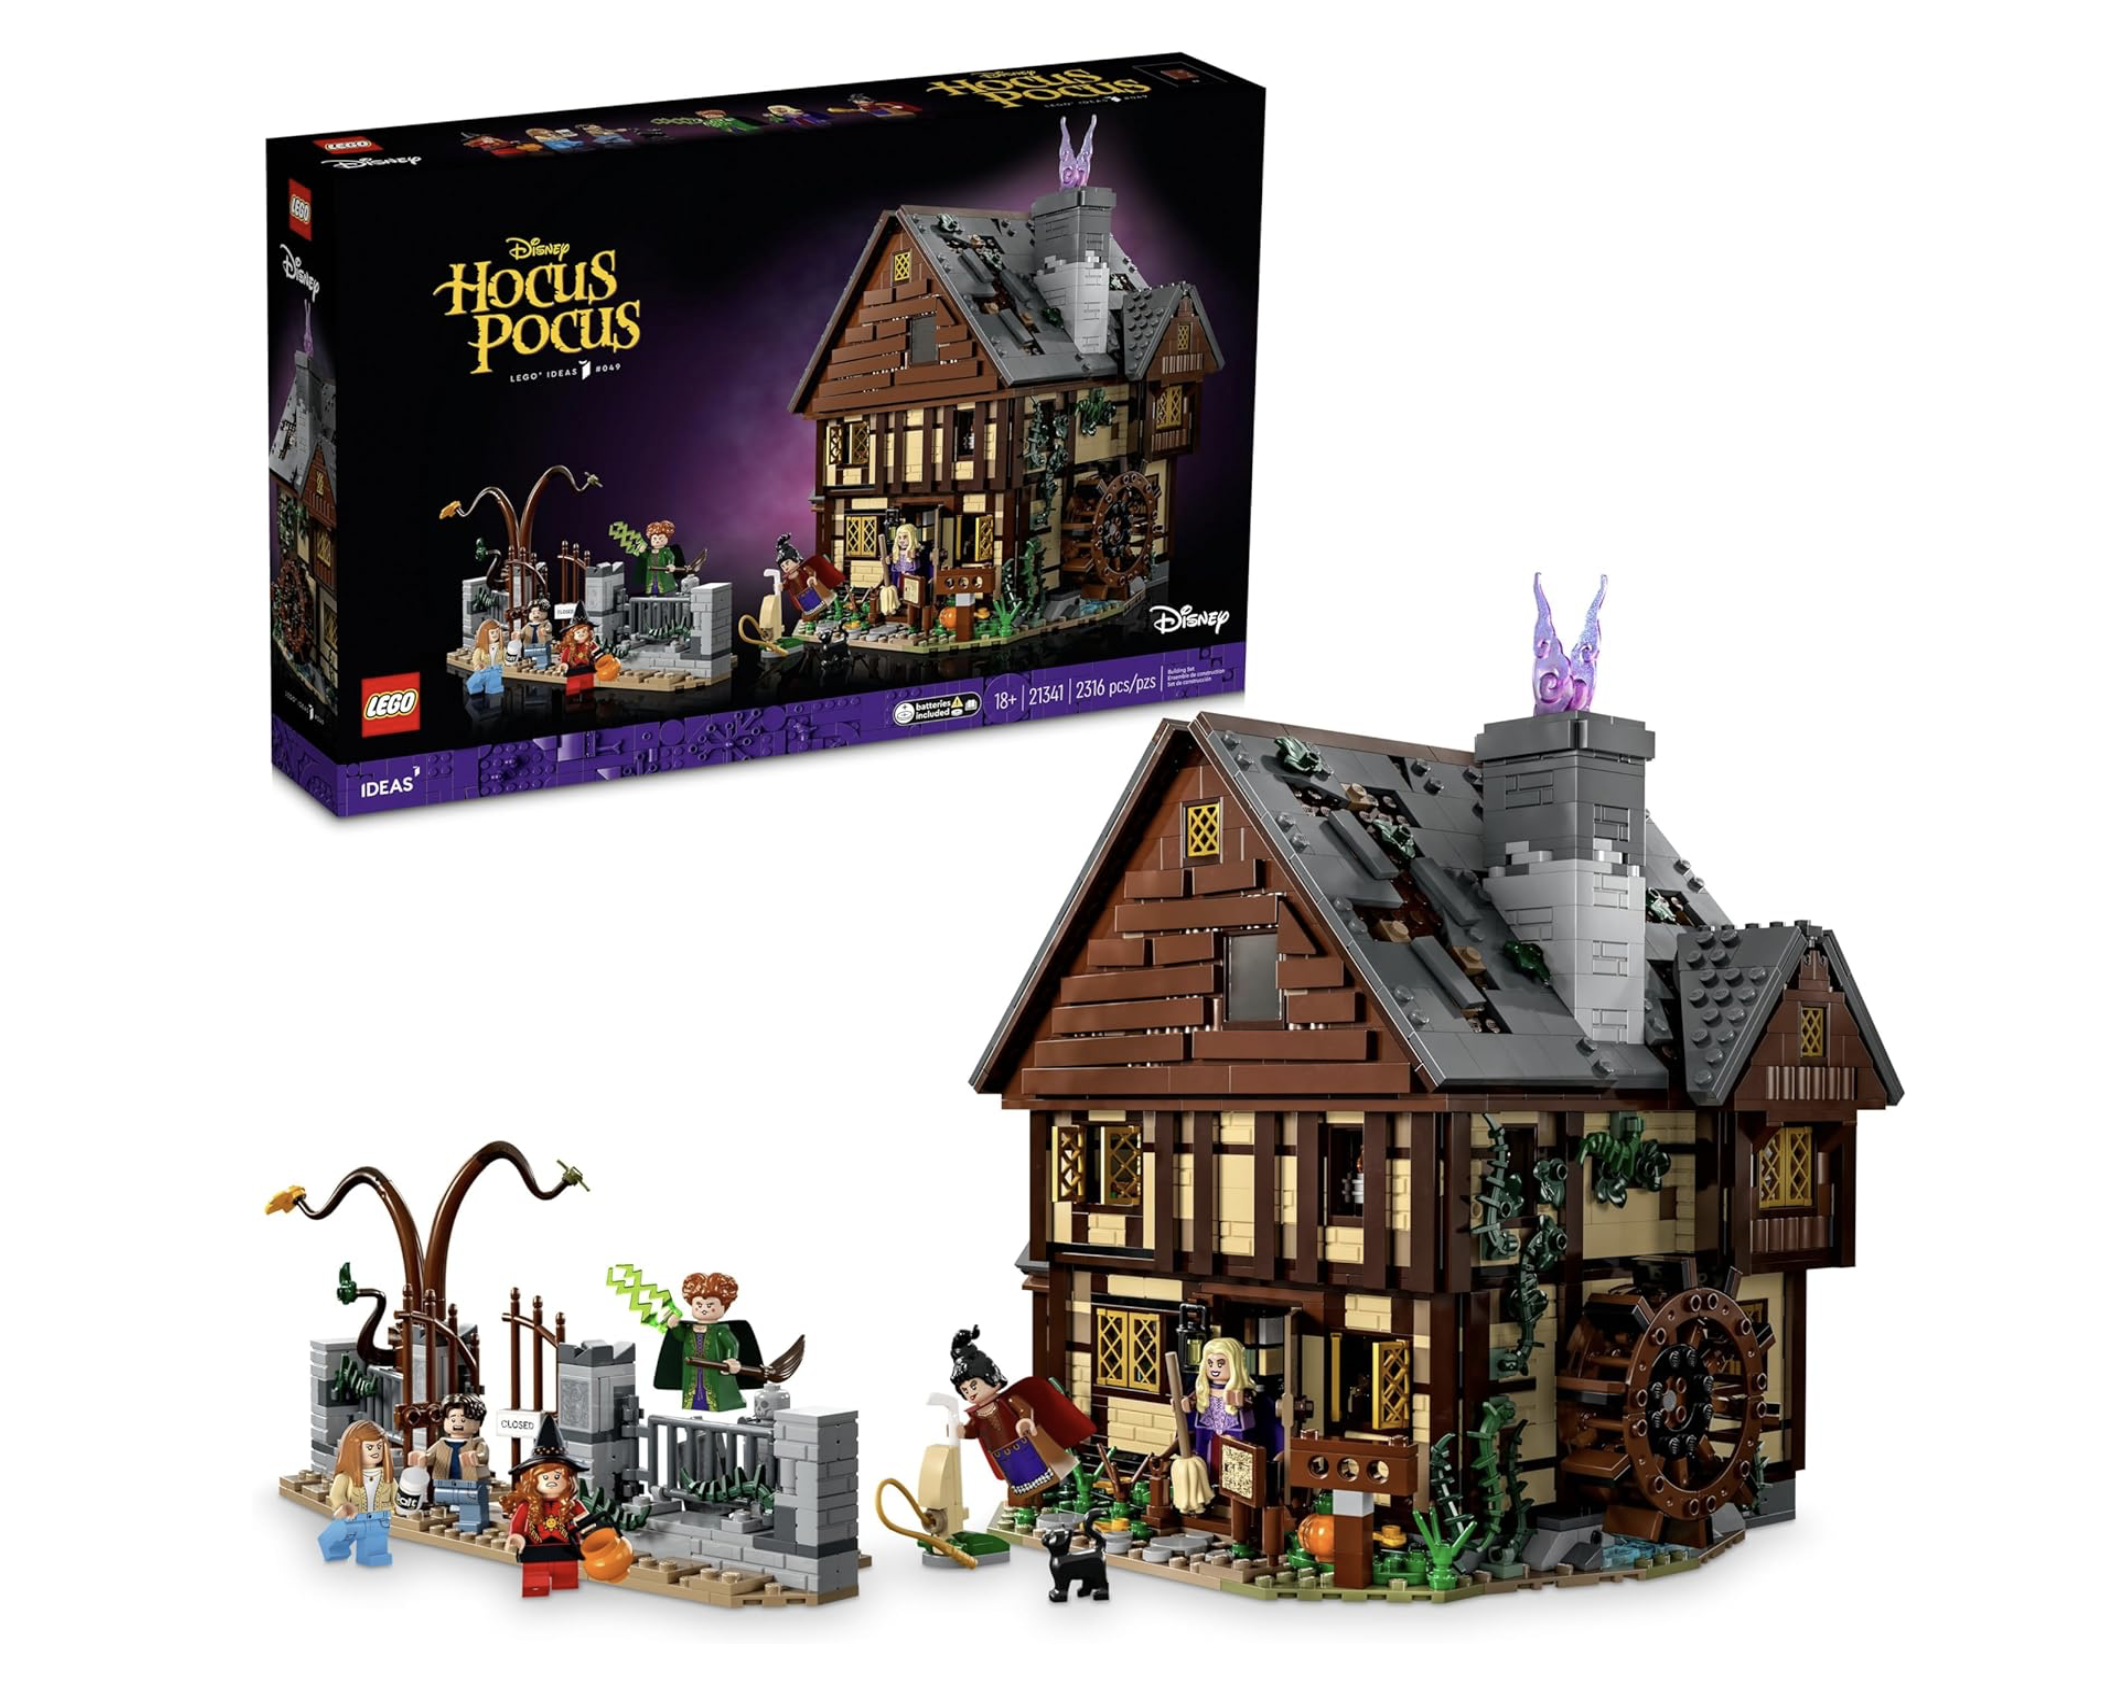
I can't recommend this Lego set highly enough! It includes 6 mini figures - Winifred Sanderson, Sarah Sanderson, Mary Sanderson, Max Dennison, Dani Dennison and Allison Watts, plus a Thackery Binx (in cat form). The details are over the top, including Mary's vacuum, a cauldron over a flame that lights up, "Book", a water wheel that turns... It's SO fun!
As promised, here's the recipe for the Witches Fingers. These would be perfect for a Halloween Potluck too!
Witches Fingers Recipe:
Ingredients:
Green Candy Melts (1 bag)
Black Candy Melts OR Chocolate-covered Almonds to save a step
Almonds for the nails
Instructions:
- First, break the pretzel rods in half so they're finger-length.
- Next, warm the caramel in your hand and form it on top of the pretzel rod so that it looks like a finger - with a nail bed, and two knuckles. We used our own fingers as guides for placement, and used toothpicks for the knuckle lines.
- For the Meltables - follow the directions on the bag. We microwaved the wafers for 30 seconds and then stirred it well. If it needed more time, we did 5 second increments. The biggest risk here is to overheat them and then it will seize up and become hard and impossible to work with.
- We laid out wax paper for the dipped pretzels to cool on. We started with the green meltables and coated the fingers except for the end that would have been attached to the witch's hand ;). Then we put them on the wax paper and pushed the almond in as the nail, before it cooled. We also used toothpicks to make knuckle lines, which I think makes them look so realistic!
- Next, we melted the black meltables and "painted" the nails black. We used vanilla flavored black wafers, but you could easily use chocolate-coated almonds and save yourself a step.
- Let them cool, then enjoy! The mixture of salty, caramel, and vanilla candy coating was delicious!
Let me know if you make them!
The holidays can be a mixture of fun and overwhelm, so be gentle with yourself, be realistic about your capacity and the time that you have, and ENJOY making memories!
XO, Audrey
P.S. Some of the links in this post are Amazon affiliate links, which means I may earn a small commission if you decide to make a purchase - at no additional cost to you! This helps me continue to provide helpful tips and support for parents like you—thank you for your support!
Stay connected!
Join my mailing list to receive tips, inspiration, and solutions to understand and support your uniquely wired tweens & teens.
We hate SPAM. We will never sell your information, for any reason.
